
The Short Answer
Most general home inspectors give the garage door a quick visual pass and a push of the wall button. They rarely run a balance test, open the opener's safety settings, or check the springs for age and corrosion — the three things most likely to cost a new homeowner money in the first year. Before you close on a home, spend ten minutes in the garage with this checklist. None of it requires tools beyond a flashlight and your own hands.
Why This Gets Missed
Standard home inspections cover hundreds of items in a few hours, and the garage door is usually treated as one line item: does it open, does it close. Inspectors aren't garage door technicians, and most won't disconnect the opener to test the door's manual balance, climb a ladder to look at the torsion spring, or check how the door seals against wind-driven rain. Those are exactly the things that matter most once winter ice, spring storms, and summer humidity start working on the door year-round.
Walk-Through Checklist
1. Disconnect the opener and lift the door by hand
Pull the red release cord so the opener is out of the equation. Lift the door to waist height and let go. A properly balanced door stays put. If it slams down or shoots up, the springs are worn or mismatched for the door's weight. What it means if it fails: the opener has been compensating for bad springs, which shortens the opener's lifespan and raises the risk of the door dropping unexpectedly.
2. Check the springs directly
Look at the torsion spring above the door or the extension springs along the upper tracks. Surface rust is common here, especially after a few winters of road salt and humidity, but flaking, pitting, or a visibly stretched coil is different. What it means if it fails: a spring near the end of its life can snap without warning, and a broken spring means the door can't be opened safely until it's replaced.
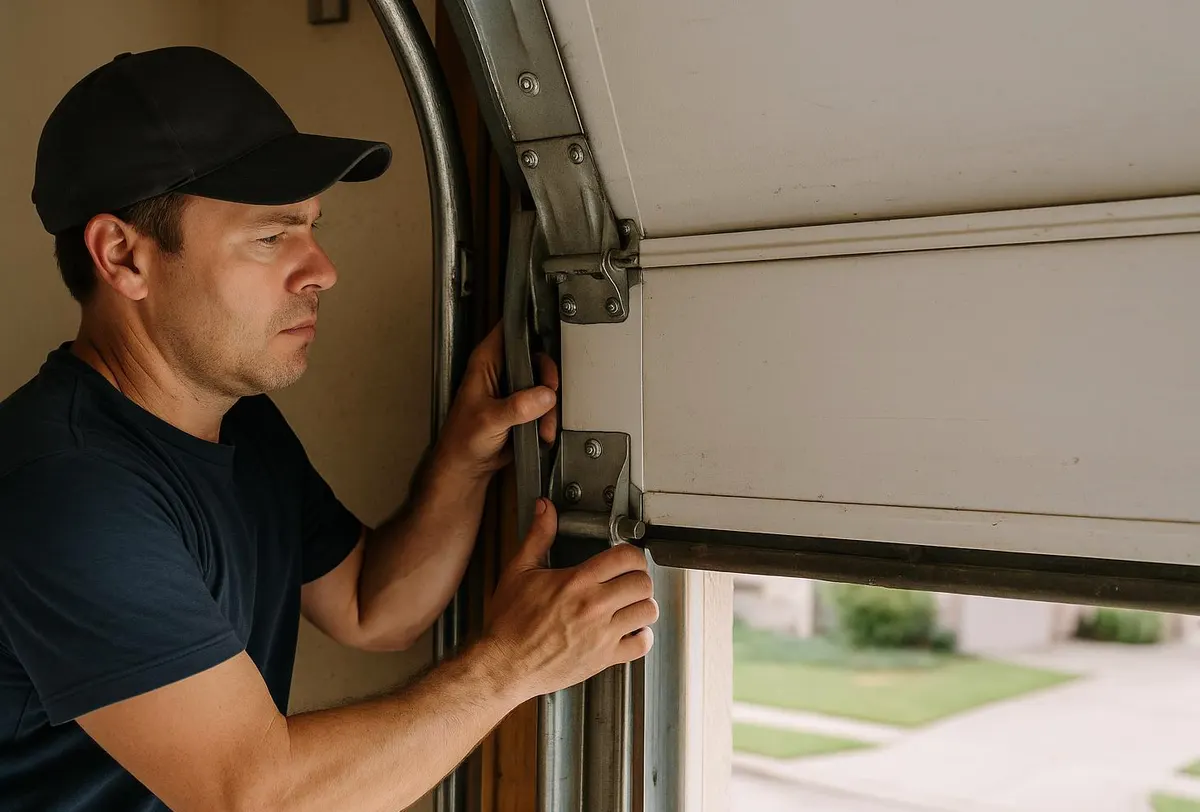
3. Inspect the tracks for rust and alignment
Run a flashlight along both tracks. Light surface rust is cosmetic; pitting, flaking, or visible bends are not. Stand back and sight down the track from the bottom — it should run straight and parallel to its twin. What it means if it fails: corroded or bent tracks cause the door to bind, wear rollers faster, and can eventually let the door jump the track entirely, something that tends to show up right after the first hard freeze.
4. Test the bottom seal
Close the door and look for daylight along the bottom edge. Press a hand along the weatherstripping — it should be pliable, not cracked or flattened. What it means if it fails: a failed seal lets in cold air, meltwater, and pests, and during spring storms it's the easiest path for wind-driven rain to pool inside the garage.
5. Check panel condition, especially the bottom panel
Look for rust blooms, delamination (bubbling or separating layers on steel doors), or soft spots on wood doors. The bottom panel takes the most abuse from snowmelt and road salt splashed up during plowing season. What it means if it fails: a compromised panel weakens the door's structure and is a sign the door has been sitting in standing moisture longer than it should.
6. Test the auto-reverse safety feature
Close the door and place a 2x4 flat on the ground where it will contact the bottom edge. The door should reverse immediately on contact. Also wave a hand in front of the photo-eye sensors near the floor while the door is closing — it should stop and reverse. What it means if it fails: this is a safety system, not a convenience feature, and a failure here means the opener's force settings or sensors need attention before anyone uses the door regularly.
7. Listen to the rollers
Open and close the door slowly and listen. Grinding, popping, or a door that shudders partway through its travel points to worn rollers or hinges. Steel rollers are noisier and wear faster than nylon; check which type is installed. What it means if it fails: worn rollers put extra strain on the opener and tracks, and they're one of the cheaper items to replace if caught early.
8. Check the garage outlet and emergency release
Confirm the opener is plugged into a grounded outlet, and locate the manual release cord — it should pull free and reattach without sticking. What it means if it fails: an ungrounded or overloaded outlet is an electrical issue beyond the door itself, and a stiff release cord means you may not be able to open the door by hand during a power outage.
When to Call South Barrington Garage Door
If the balance test fails, the springs look worn, or the auto-reverse doesn't trigger, those are safety issues worth addressing before move-in, not after. South Barrington Garage Door can run a full inspection as part of a garage door maintenance visit, catching track alignment, roller wear, and opener settings in one trip, and handle spring replacement on the spot if the springs are near the end of their life. It's a lot cheaper to fix this before the first winter freeze than after a spring snaps on a January morning.
If you're closing on a home in South Barrington, Barrington, Hoffman Estates, Inverness, Palatine, Schaumburg, Deer Park, or Arlington Heights, give South Barrington Garage Door a call before or right after closing — we'll walk the garage with you and tell you exactly what needs attention.